
👶 Our family is growing!
Crafty Minis will be closed for a few weeks as we welcome our new baby. Purchases will be temporarily disabled. We’ll be back very soon! 💛
Crafty Minis will be closed for a few weeks as we welcome our new baby. Purchases will be temporarily disabled. We’ll be back very soon! 💛
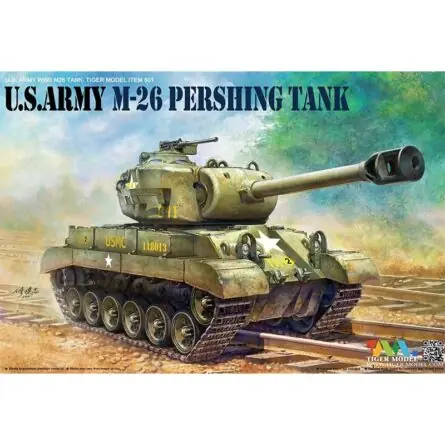
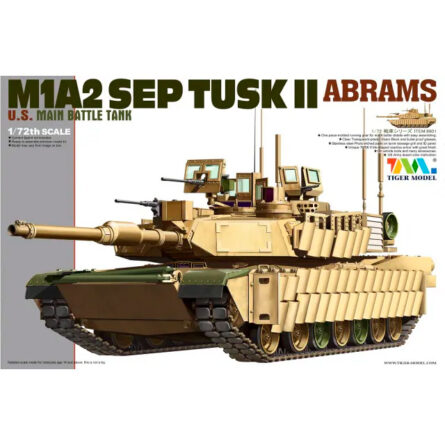
Tanks | Tiger Model
Discover our selection of Tiger Model tank kits in various scales. Below is a guide with links to accessory and paint categories to assemble, paint and weather your armour with a consistent finish.Assembly and preparation
- Adhesives: plastic cements and CA for fine or multi-material parts.
- Cutting tools: precision knives, spare blades and flush cutters to separate parts from the sprue without damage.
- Sandpaper and files: fine-tune fits and smooth joints before priming.
- Putty: fill gaps, correct hollows and re-sculpt detail.
- Masking tape for clean camouflage lines.
- Tweezers and cutting mats: precise handling and a stable work surface.
Base paint
- Primers to improve adhesion and reveal imperfections.
- Acrylic paints for colour coats by brush or airbrush.
- Airbrushing for smooth transitions and fine camouflages.
- Auxiliary products: thinners, cleaners, mediums and decal solutions.
Weathering and finishes for armour
- Washes and inks for panelling and shadows.
- Weathering FX for streaking, rust and grime.
- Pigment FX for dust and realistic textures.
- Diorama FX for mud, snow, water and terrain on the base.
- Varnishes (gloss for decals; satin or matt for the final finish).
Recommended workflow
- Dry-fit assembly, clean cutting and adjustment with file/sandpaper; glue with the right adhesive.
- Fill joints with putty; refine and smooth before priming.
- Control primer coat and base colour by brush or airbrush.
- Decals over a gloss coat; seal, apply washes/pigments/effects and varnish.