
👶 Our family is growing!
Crafty Minis will be closed for a few weeks as we welcome our new baby. Purchases will be temporarily disabled. We’ll be back very soon! 💛
Crafty Minis will be closed for a few weeks as we welcome our new baby. Purchases will be temporarily disabled. We’ll be back very soon! 💛
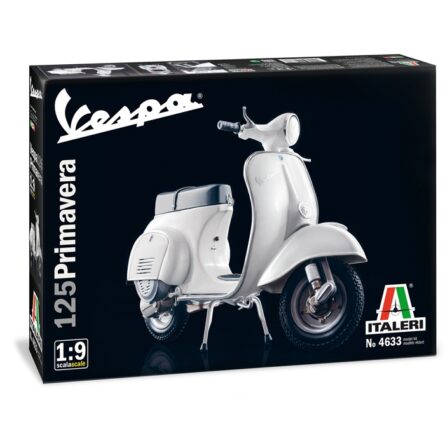
Italeri motorcycle kits: clean engineering and crisp detail
Italeri motorcycle kits offer clean breakdowns and well-defined parts on fairings, chassis and metal components. With careful prep and a good paint sequence, you'll get realistic finishes on tanks, engines and chrome.Fairing, chassis and engine prep
Fine-tuning the fit early saves rework later. Dry-fit, glue in sections and correct mould lines before priming:- Adhesives for kits (plastic and clear parts).
- Cutting tools to separate parts without tearing.
- Sandpaper and files to refine joints on fairings and tank.
- Putty for fine joints and spot corrections.
- Masking tape for two-tone tanks, stripes and numbers.
- Tweezers for levers, photo-etch and small decals.
- Cutting mats to work comfortably and precisely.
Primer and colour: uniform base and thin coats
Primer unifies materials and improves grip; from there, apply colour in thin coats for a uniform finish:- Primers in black, grey or white depending on the final tone.
- Wide range of paints for brush and airbrush (bodywork, chassis, engine and details).
- Varnishes to protect colour and decals; use matt or satin finishes on mechanical parts and whichever you prefer on the fairings.
Engine, wheels and chrome: controlled highlighting
Engines and metal parts gain depth with subtle effects:- Apply fine washes on engine fins, brake discs, hardware and grilles.
- Modulate synthetic leather and rubber (seat, grips, tyres) with light inks.
- For exhaust smoke or discreet shading, use airbrushing accessories and very thin coats.
Decals and finishing touches
Work on smooth surfaces to avoid "silvering" and seal at the end:- Place decals over a base of gloss varnish where relevant and reseal.
- Touch up contours and panels with spot washes to add depth without overdoing it.
Quick tips for your Italeri
- Recommended sequence: dry-fit → controlled adhesive → fine putty → gentle sanding → primer → colour in thin coats → decals over varnish → washes/inks → final varnish.
- Clear parts and headlights: handle with tweezers and use adhesive for clear parts to avoid fogging.
- Tyres and chain: combine matt and satin finishes; a very diluted wash highlights tread and links.