
👶 Our family is growing!
Crafty Minis will be closed for a few weeks as we welcome our new baby. Purchases will be temporarily disabled. We’ll be back very soon! 💛
Crafty Minis will be closed for a few weeks as we welcome our new baby. Purchases will be temporarily disabled. We’ll be back very soon! 💛
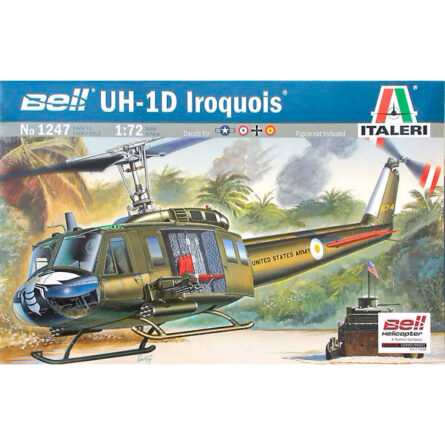
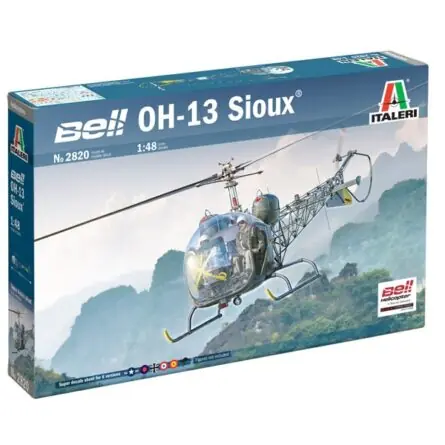
Italeri helicopter kits: crisp panelling and precise assembly
Italeri helicopter kits offer well-broken-down fuselages, roomy cockpits and glazing that shines with good prep. Here's a quick guide with links to useful paints and accessories for a clean, realistic result.Fuselage and rotor prep
Fine-tuning the fit early avoids rework later. Dry-fit, glue in sections and align the main and tail rotors before closing the fuselage:- Adhesives for kits (plastic and clear parts).
- Cutting tools to release parts without tearing.
- Sandpaper and files for joints on the fuselage and fairings.
- Putty for fine joints and tight panels.
- Precision tweezers for photo-etch, antennas and struts.
- Cutting mats to work comfortably and safely.
Glazing and masking
Helicopter canopies and windows are a centrepiece — protect them well:- Mask frames and bubble canopies with low-tack masking tape.
- For interior details and fine edges, use precision brushes.
Primer and colour: a uniform base
A uniform primer improves grip and shows off the detail. Then apply base colours in thin coats and seal with varnish for the finish you want:- Primers in black, grey or white depending on the scheme.
- Full range of paints for brush and airbrush (interior and exterior).
- Varnishes: gloss for decals and sealing; matt/satin for the final finish.
Airbrushing and service-worn effects
Helicopters gain a lot from realistic in-service weathering: exhaust stains, hydraulic streaks, dust and splashes:- Airbrushing accessories for smooth transitions on panels and rotor blade leading edges.
- Washes for panel lines, rivets and hatches.
- Fine inks and filters to modulate tones (desert, jungle, naval).
Decals and finishing touches
Apply decals over a smooth surface to avoid "silvering" and finish with varnish:- Decals over a coat of gloss varnish, seal and unify with matt or satin.
- Highlight vents, air intakes, skids and undercarriage with spot washes.
Quick tips for your Italeri
- Recommended sequence: dry-fit → controlled adhesive → fine putty → gentle sanding → primer → colour in thin coats → decals over gloss varnish → washes/filters → final varnish.
- Undistorted blades: paint on a support and let cure lying flat to avoid warping.
- Clean cockpit: handle clear parts with tweezers and avoid glues that fog them.