
👶 Our family is growing!
Crafty Minis will be closed for a few weeks as we welcome our new baby. Purchases will be temporarily disabled. We’ll be back very soon! 💛
Crafty Minis will be closed for a few weeks as we welcome our new baby. Purchases will be temporarily disabled. We’ll be back very soon! 💛
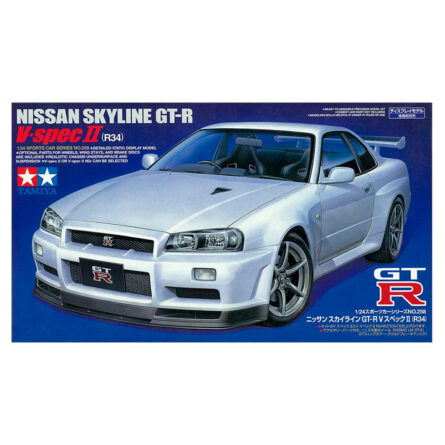
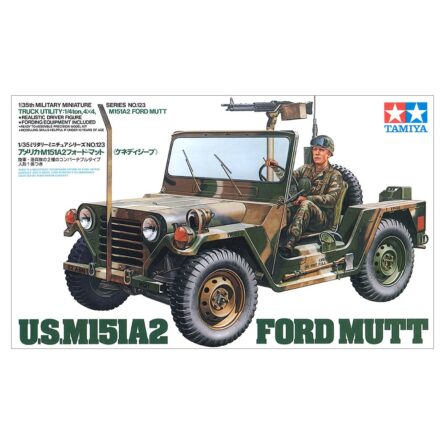

Tamiya car kits: engineering precision and a perfect fit
Tamiya car kits are known for their engineering precision, excellent fit and clear instructions. A great choice for a clean build and a show-quality bodywork finish. Here's a quick guide with useful paints and accessories.Bodywork and interior prep
Tamiya's tight tolerances reward careful prep. Dry-fit, glue cleanly and refine seams before priming:- Adhesives for kits for firm joints (bodywork, transparent parts and interior).
- Cutting tools to remove parts cleanly from the sprue.
- Sandpaper and files to smooth seams and remove flash.
- Masking tape for two-tone schemes, stripes and windows.
- Precision brushes for interior details and touch-ups.
- Putty to correct joints on the bodywork.
- Tweezers for decals, chrome trim and small parts.
- Cutting mats to work comfortably and safely.
Primer and colour: mirror-finish bodywork
Tamiya bodies are a great canvas for a polished, mirror-like finish:- Primers (black for deep metallics; grey/white for solid, bright colours).
- Range of paints for brush and airbrush, including Tamiya's own lacquer and acrylic ranges.
- Varnishes: gloss for a showroom finish on the bodywork; matt or satin for interiors and mechanical parts.
Details, decals and finishing touches
Once the base colour is set, decals and small effects bring the model to life:- Apply decals over a coat of gloss varnish and seal afterwards to avoid "silvering".
- Highlight grilles, wheels and trim with fine washes.
- Add depth to plastics and upholstery with very diluted inks and filters.
Airbrushing and fine finish
For that flawless, deep gloss Tamiya bodies are known for, the airbrush makes all the difference:- Explore airbrushing accessories to control atomisation and get smooth coats.
- After curing, a final coat of varnish protects the finish and unifies the shine.
Dioramas and setting
Placing your car in a scene (garage, street or race track) adds a lot of visual interest. Complete it with scenery and a fitting base.Quick tips for your Tamiya
- Recommended sequence: dry-fit → controlled adhesive → fine putty → progressive sanding → primer → colour in thin coats → decals over gloss varnish → spot washes → final varnish.
- Clear parts and headlights: handle with tweezers and use adhesive for clear parts to avoid fogging.
- Flawless gloss: sand between coats with very fine grit and keep the workspace free of dust.