
👶 Our family is growing!
Crafty Minis will be closed for a few weeks as we welcome our new baby. Purchases will be temporarily disabled. We’ll be back very soon! 💛
Crafty Minis will be closed for a few weeks as we welcome our new baby. Purchases will be temporarily disabled. We’ll be back very soon! 💛
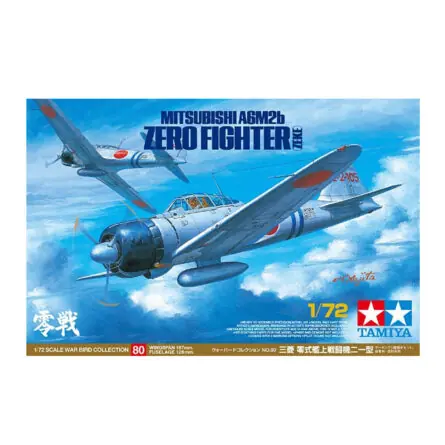
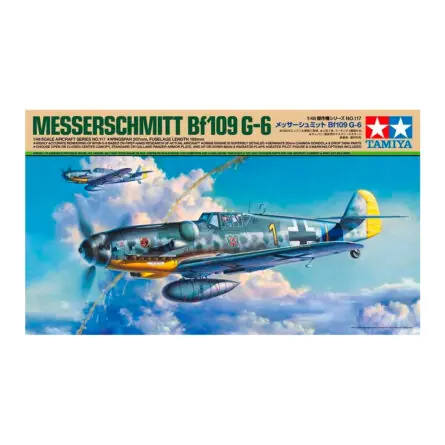
Tamiya aircraft kits: precise fit and outstanding detail
Tamiya aircraft kits stand out for their clear engineering, clean parts and crisp panel lines. Ideal for a smooth build and for showing off painting and weathering techniques without complications.Prep before painting
An impeccable base guarantees a superior finish. Dry-fit, glue in sections and smooth joints before priming:- Adhesives for kits for firm, controlled joints.
- Cutting tools to remove parts with precision.
- Sandpaper and files to level joints and refine surfaces.
- Masking tape and clean cuts on leading edges, radomes and canopies.
- Precision brushes for cockpits, landing gear and position lights.
Primer and colour
Primer unifies materials and improves grip. Then apply base colours and seal with varnish to protect the work:- Primers in black, grey or white depending on the scheme.
- Range of paints suitable for brush and airbrush.
- Varnishes: gloss for decals; matt or satin as the final finish.
Weathering and panel realism
Tamiya panel lines reward subtle, controlled effects that add depth and life:- Washes to highlight panel lines and rivets.
- Inks and light filters to modulate tones.
- Exhaust smoke, landing gear grime and wear with airbrushing accessories and equipment.
Quick tips for your Tamiya
- Recommended sequence: dry-fit → controlled adhesive → fine putty → gentle sanding → primer → colour → decals over gloss varnish → washes → final varnish.
- Crisp masking: apply thin coats and remove the tape diagonally to avoid steps.
- Cockpit and details: combine brush for switch panels with airbrush for smooth transitions.