
👶 Our family is growing!
Crafty Minis will be closed for a few weeks as we welcome our new baby. Purchases will be temporarily disabled. We’ll be back very soon! 💛
Crafty Minis will be closed for a few weeks as we welcome our new baby. Purchases will be temporarily disabled. We’ll be back very soon! 💛
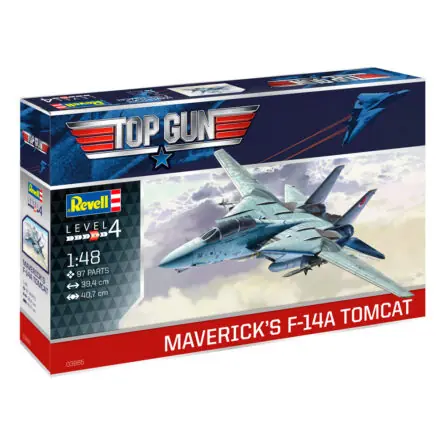
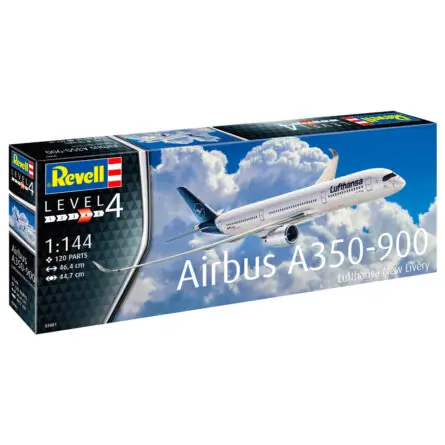
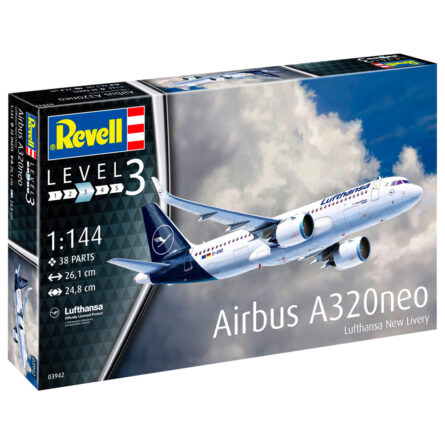
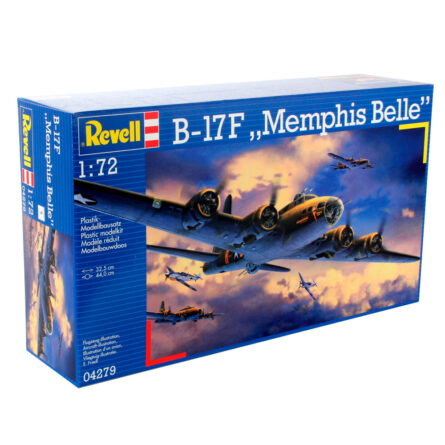
Revell aircraft kits: reliable fit and great detail
If you're after Revell aircraft kits, here you'll find kits with good breakdown, marked panel lines and clear guides. Ideal for getting started or for quick projects to practise masking, decals and weathering effects.Prep before painting
A clean base saves touch-ups. Test the dry-fit, glue in sections and get the surface ready for priming:- Adhesives for kits for firm, precise joints.
- Cutting tools to remove parts cleanly.
- Sandpaper and files for joints and levelling.
- Masking tape and crisp edges on wings and radomes.
- Precision brushes for cockpits, landing gear and position lights.
Primer and colour for aviation
A uniform primer improves grip and detail reading. Then apply the base colours and protect the work with varnish:- Primers in black, grey or white depending on the scheme.
- Full range of paints for brush and airbrush.
- Varnishes: gloss for decals and matt/satin at the end.
Weathering: panel lines and effects
Revell's panel lines really shine with subtle, controlled effects:- Washes to highlight panel lines and rivets.
- Inks and light filters to modulate tones.
- Exhaust grime, leading edges and landing gear with airbrushing accessories and equipment.
Quick tips for your Revell
- Recommended sequence: dry-fit → controlled adhesive → fine putty → gentle sanding → primer → colour → decals over gloss varnish → washes → final varnish.
- Clean masking: apply thin coats and remove the tape diagonally to avoid steps.
- Cockpit and details: combine brush for switch panels with airbrush for smooth transitions.