
👶 Our family is growing!
Crafty Minis will be closed for a few weeks as we welcome our new baby. Purchases will be temporarily disabled. We’ll be back very soon! 💛
Crafty Minis will be closed for a few weeks as we welcome our new baby. Purchases will be temporarily disabled. We’ll be back very soon! 💛
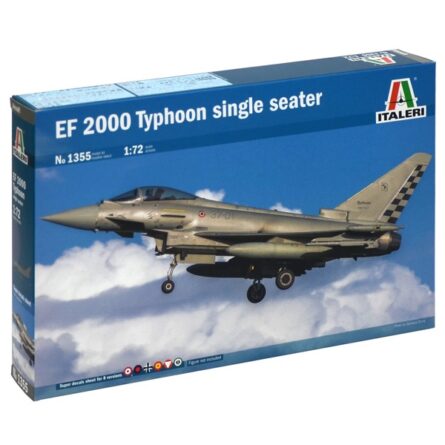
Italeri aircraft kits: historic detail and enjoyable assembly
If you're after Italeri aircraft kits, here you'll find kits to enjoy the build and achieve realistic finishes on cockpits, panels and decals. Italeri stands out for its historical accuracy and good instructions, ideal whether you're starting out or already master the airbrush.Before painting: quick, clean prep
A good base makes all the difference. Check fits, fill fine joints and get the surface ready for colour. This will come in handy:- Adhesives for plastic and delicate parts
- Cutting tools, sandpaper and files
- Masking tape for crisp edges
- Precision brushes for cockpits and details
Primer and colour for aviation
Prime in black, grey or white depending on the scheme to improve grip and detail reading. Then apply your base colours by brush or airbrush.- Start with primer to unify materials.
- Choose your acrylic paints or lacquers depending on your technique.
- For a resistant finish, top with varnish (gloss for decals, matt/satin at the end).
Weathering and panel realism
Bring out the panel lines and add depth with simple techniques:- Spot and panel washes: check the washes category.
- Filters and light inks to modulate tones: see inks.
- Airbrushing for exhaust smoke, landing gear grime and leading edges: check airbrushing accessories and equipment.
Quick tips for your Italeri
- Winning sequence: dry-fit → controlled adhesive → fine putty → gentle sanding → primer → colour → decals over gloss varnish → washes → final varnish.
- Clean masking: use specific tape and apply thin coats to avoid steps.
- Cockpit and landing gear details: alternate brush for micro-detail and airbrush for smooth transitions.